I’ve been trying to take better photos but I don’t have very good lighting. After some reading, it looks like a Lightbox might be able to help me with smaller objects. A lightbox helps diffuse the light, making less harsh shadows.
After poking around online and lacking a large enough cardboard box I decided to make one out of white foam core. The plan is to build something that I can disassemble/reassemble relatively quickly so I can pack it away when I’m not using it.
My lightbox
Things I used :
- A 32″ x 40″ x 3/16″ sheet of white foam core
- Ruler
- Scissors
- X-acto knife
- Pencil
- Tape (I used painter’s tape)
- Magnetic tape

Things I used
I got the foam core and magnetic tape from DeSerres and it costed $13.55. I used leftover painter’s tape though you could use pretty much any kind of sticky, durable tape.
Steps
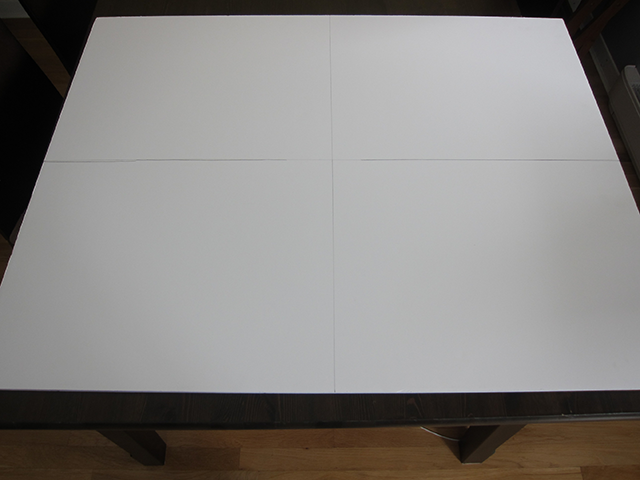
- First divide the foam core up into 4 equal-sized (16″ x 20″) pieces .
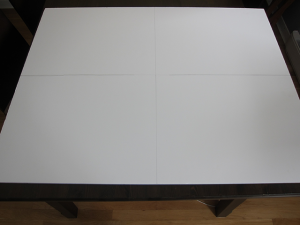
Measurements
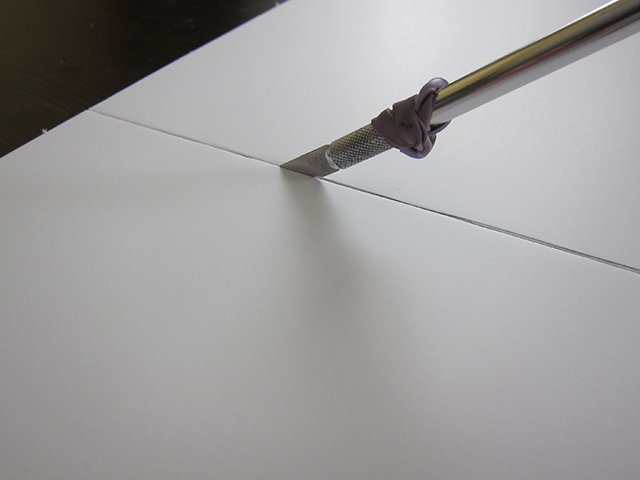
- Score the markings with an x-acto knife.
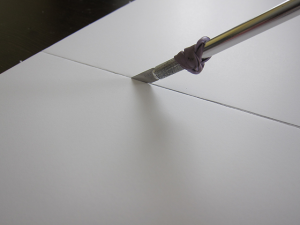
Scoring
- With the cut deep enough, you should be able to bend along the crease and slice the other side of the foam core with the knife.
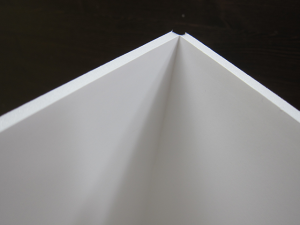
Folding
- You should have four roughly same shaped pieces measuring 16″ x 20″.
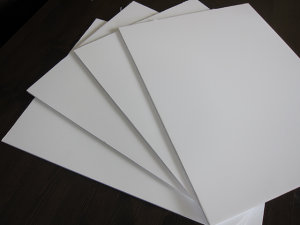
Cut Pieces
- Label them left, right, bottom, and back with some tape.
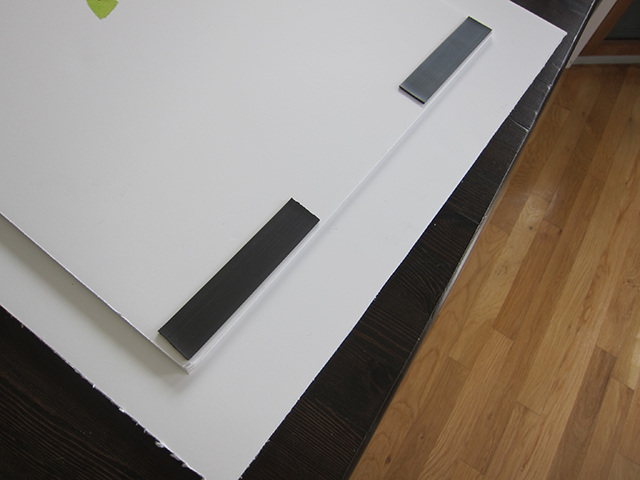
- Cut the magnetic tape 16 into 5″ long pieces.
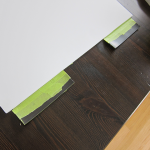
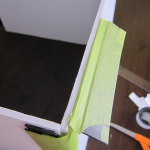
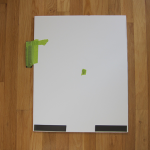
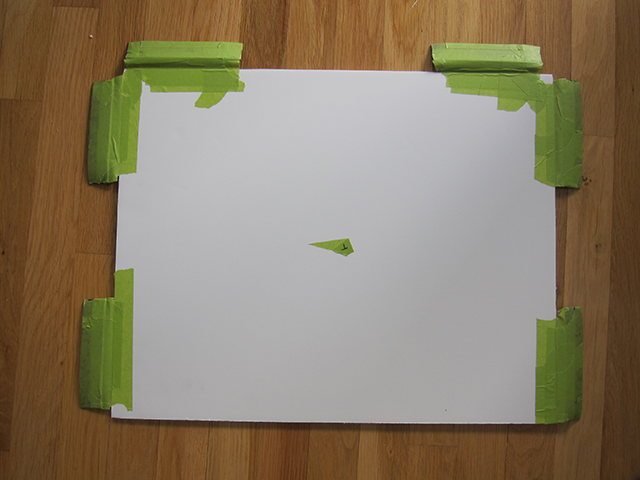
- For the and right pieces, stick two strips of magnets at the bottom corners like so :
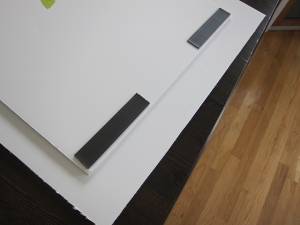
Side board magnets
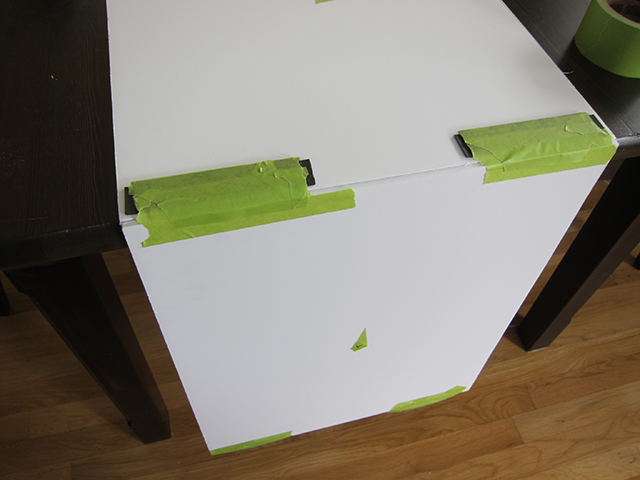
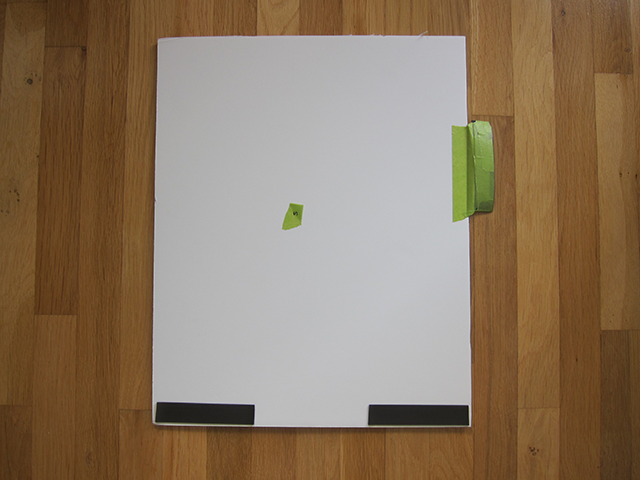
- Lay another set of magnets on top of the right side board and tape the bottom board to it :
Magnets on the bottom
- Repeat this for the right side board.
- Remove the side boards and tape up the other side of the magnets so the exposed sticky ends wouldn’t stick to unwanted stuff :
-
- Reinforcing the sticky side of the tape
-
- Reinforcing the sticky side of the tape
-
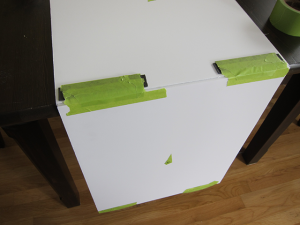
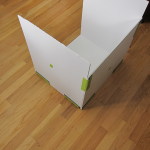
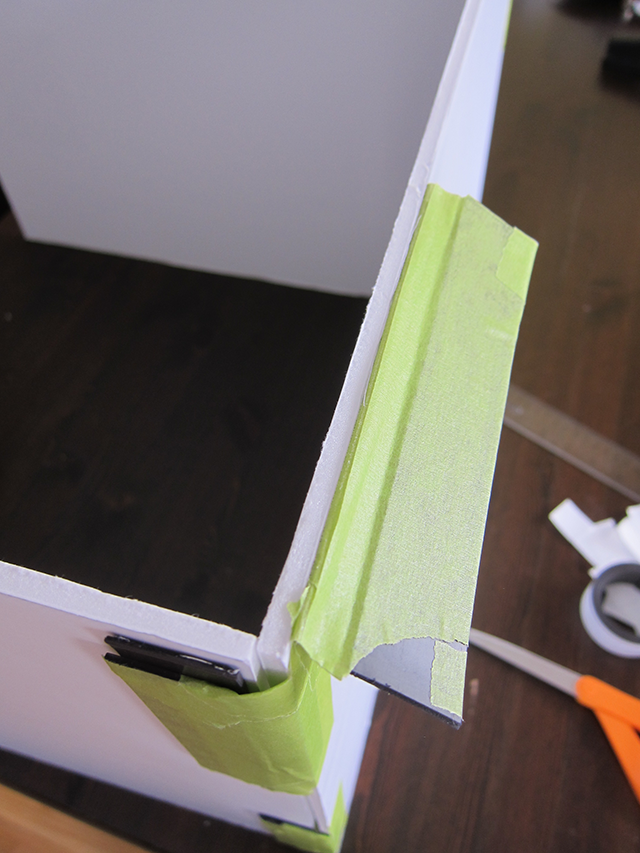
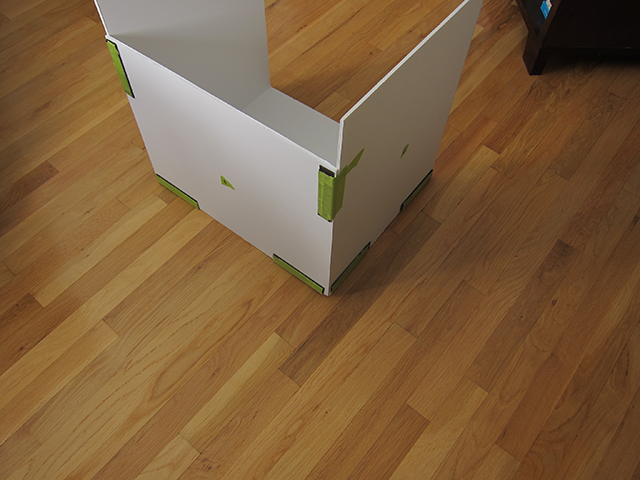
- Re-attach the sides and you’ll notice it’s a bit wobbly. The side and back pieces don’t have anything to hold them upright with. To fix this, put another magnet strip on each side board nears to the back. Double it up again and tape it to the back board. You should end up with the following pieces :
-
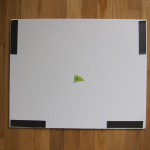
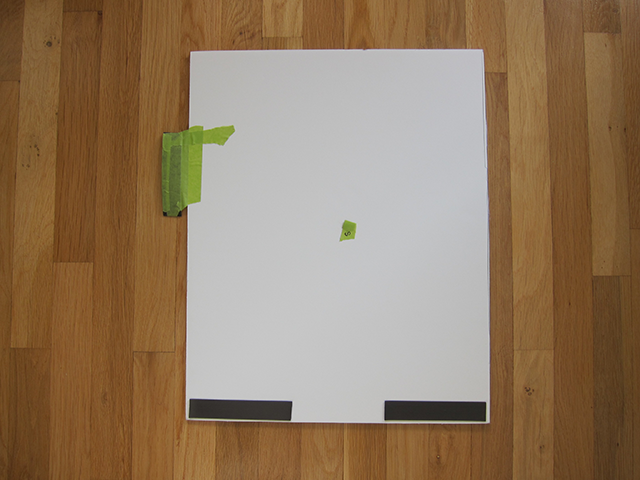
- Back piece (the two strips on the long side are what attaches to the bottom piece)
-
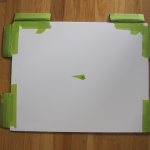
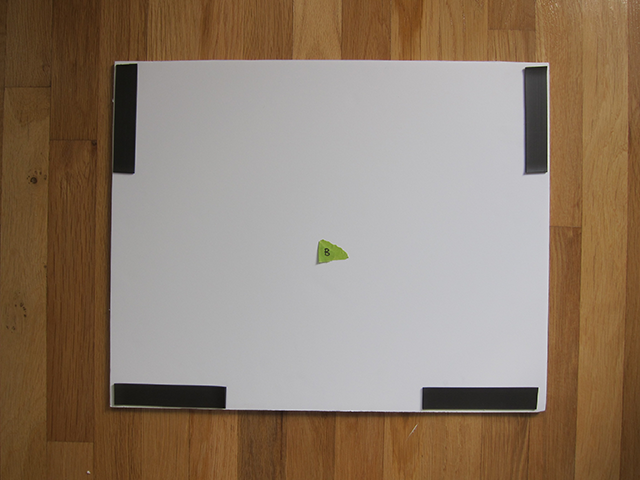
- Bottom piece (the flaps on the long end are where the back piece gets attached)
-
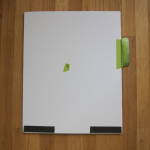
- Left piece (the flap attaches to the back piece)
-
- Right piece (the flap attaches to the back piece)
-
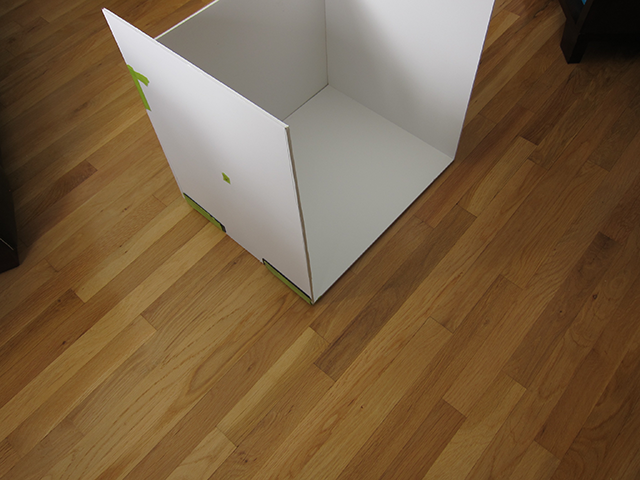
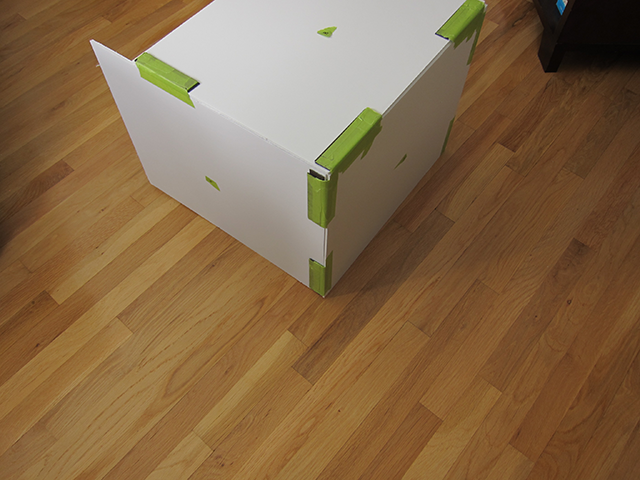
- Hopefully you should have something like this now :
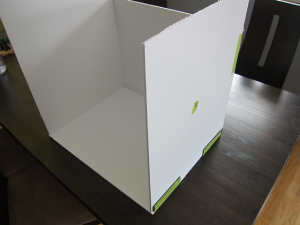
Completed
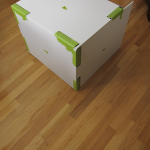
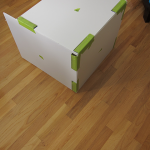
Some more views :
-
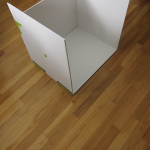
- Front-right
-
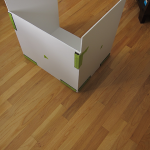
- Back-right
-
- Back-left
-
- Bottom-left
-
- Bottom-right
-
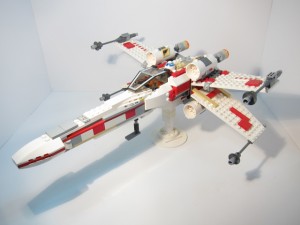
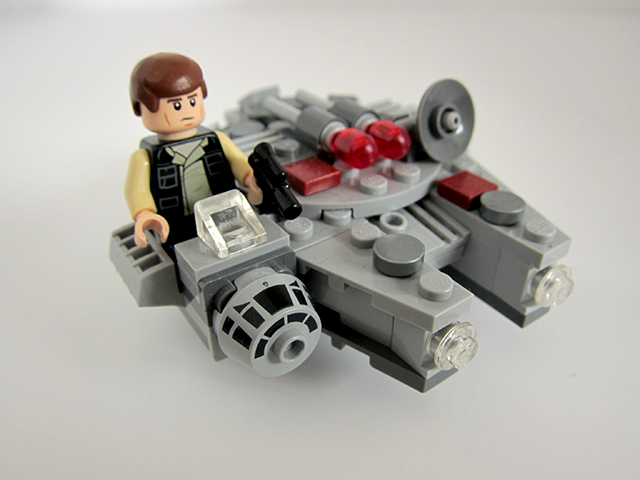
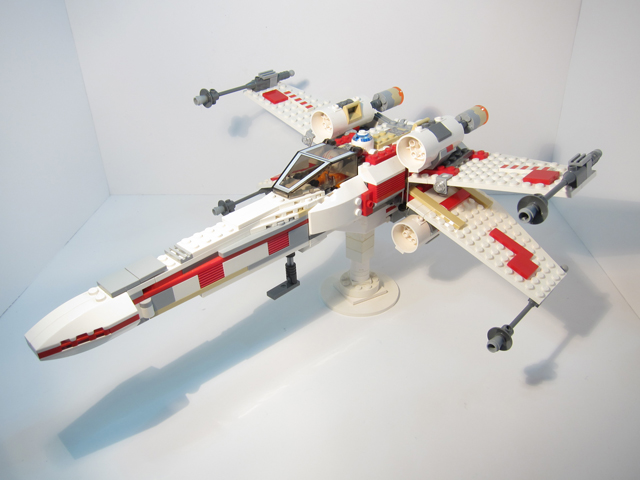
- Now take some photos !
-
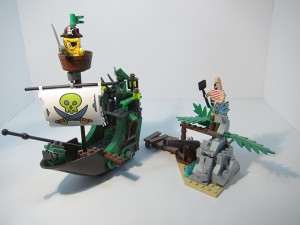
-
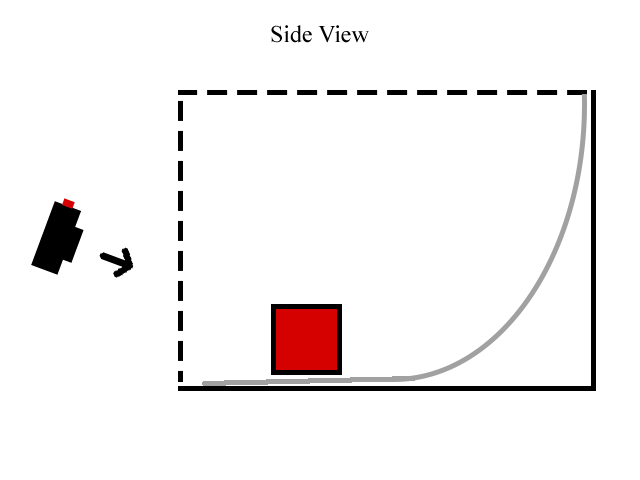
- Get a long sheet of paper (grey curved line in the diagram below) to make the back corner less obvious :

Infinity diagram
- More lamps ! I don’t have any at the moment.


Some more improvements would be to :
All-in-all, not bad for $13.55 and a couple hours of my time.
One Comment